
RAYCORE Structural Insulated Wall Panel Installation
Step 5 - And You’re Off! Framing Your Walls with RAYCORE Structural Insulated Wall Panels
Apply a continuous bead of construction adhesive or polyurethane canned foam to sides of the RAYCORE's Structural Insulated Wall Panel and adjoining framing members. This will adhere the panels and provide an airtight seal. Push the panels firmly together so that the foam side of one panel touches the wood side of the adjoining panel, maintaining your layout. Ensure that the panel joints are tight and square at all times to eliminate air infiltration, and prevent condensation and moisture transfer, maximizing the energy efficiency of the envelope. Fill voids above and below windows with pieces of surplus cut panels to complete the installation.
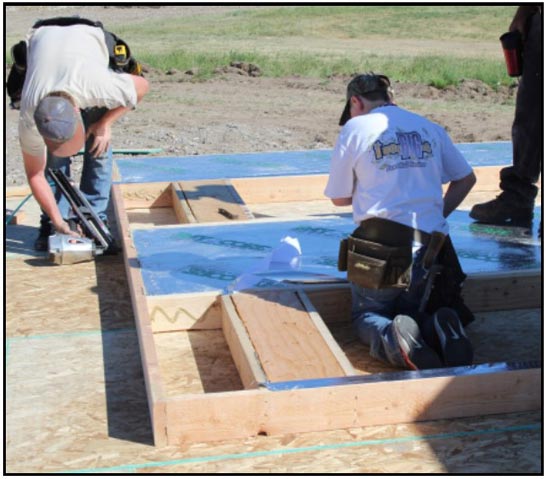
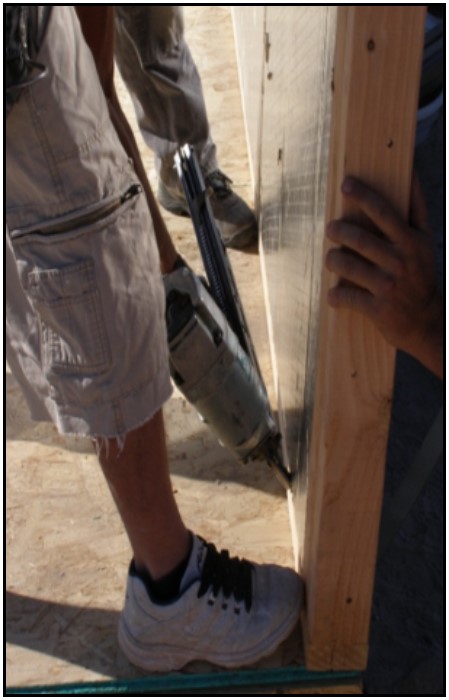
Step 6 - Attach Top and Bottom Plates to Structural Wall Panels
Apply a continuous bead of construction adhesive or polyurethane canned foam to the bottom and top of the panels and all adjoining panels or framing members to provide an airtight seal. Match studs in panels and window and door frames to the layout marked on top and bottom plates. Nail tightly bottom and top plates to the RAYCORE Structural Insulated Wall Panel’s integrated studs and all other framing members using appropriately sized fasteners per conventional framing practices. This ensures a secure attachment and reinforces the airtight seal of the wall assembly.
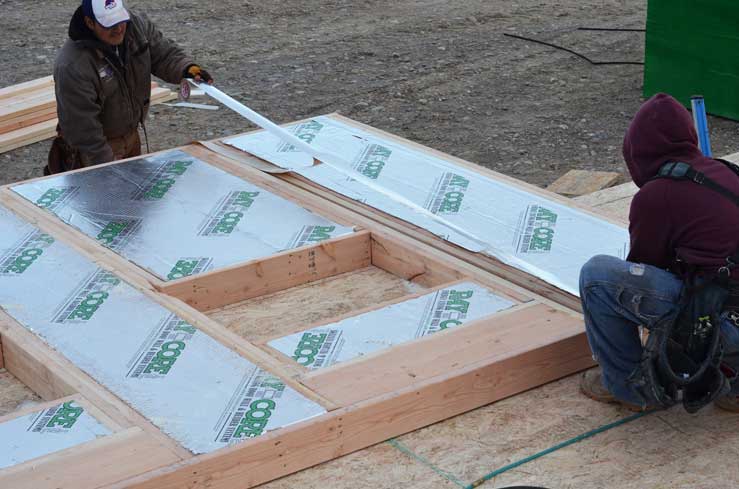
Step 7 - Sealing and Tapeing Wall Panel Seams and Framing
Sealing the envelope and eliminating air infiltration is a critical installation detail that significantly impacts the energy-saving performance of any structure, reducing heating and cooling costs and preventing vapor transference, condensation and water damage. When building with RAYCORE Structural Insulated Wall Panels, fill any open joints, cracks or voids, and penetrations with canned polyurethane foam. Once cured, remove any excess foam. Smaller voids can be sealed with flexible caulk. Seal all seams, joints to additional framing members, and penetrations with vaporproof air-sealing tape. For best results, RAY-CORE recommends the using compatible FSK tape supplied by RAYCORE SIPs. Take care to prevent damage to the panels and their foil facing during handling. However, if small tears, occasional bumps or gouges occur, they can be easily repaired by filling with canned polyurethane foam, flexible caulk, and/or by applying vaporproof air-sealing tape. This will ensure the long-term efficiency and reliability of the wall assembly.
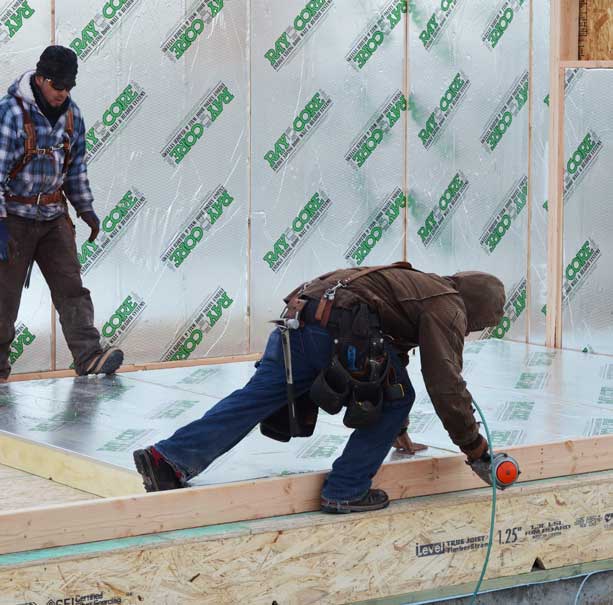
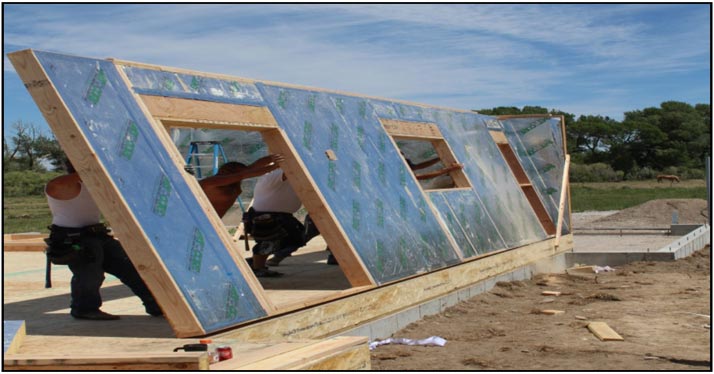
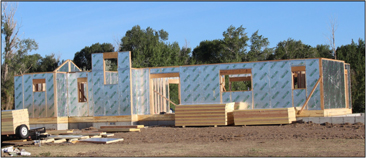
Step 8 - Standing the Structural Insulated Walls
Sheathing can be attached either before or after the wall has been raised, depending on the framer’s preference. This flexibility allows framers to choose the sequencing that works best for their specific methods construction process and project requirements. Apply a continuous bead of foam-friendly construction adhesive to the bottom plate to create an airtight seal between the subfloor and the wall. Securely face nail the bottom plate on both sides to the rim board and floor joists using appropriate fasteners per conventional framing practices and building code requirements.

Step 9 - Finishing The Walls
RAYCORE Structural Insulated Wall Panels are not intended to serve as a finished and exposed surface. Internal surfaces of panels must be covered with a minimum 15-minute thermal barrier, such as 1/2 inch (12.7mm) gypsum wallboard or other approved materials per code. External surfaces of the panels should be finished promptly with materials that offer protection from sunlight, weather, moisture and all other elements. This ensures the longevity and performance of the wall system.
NOTE: Installation must adhere to manufacturer’s published instructions and utilize conventional construction methods and practices. All methods and practices must comply with the specifications of engineers or architects and meet national, state, province and local building code requirements. No recommendations in this installation guide should override these specifications and requirements. Any deviations from standard and conventional building methods and practices must be calculated, specified, signed and sealed by a licensed professional engineer or architect.
Click Below for More RAYCORE SIPs "How To"
SIPs Best Installation Practices
Wiring, Plumbing and Ventilation in SIP Panels
Attaching Wall Panels to a Concrete Wall or Slab
Additional RAYCORE SIPs Installation Procedures & Documents You Might Find Useful
Print or Save A Copy Of the RAY-CORE SIPs ™ Installation Guide
* R means resistance to heat flow. The higher the R-value, the greater the insulation power. See RAYCORE SIP Panel Specification Sheet or Fact Sheet on RAYCORE's Technical Data Page.
Over 35 Years of Customer Satisfaction