
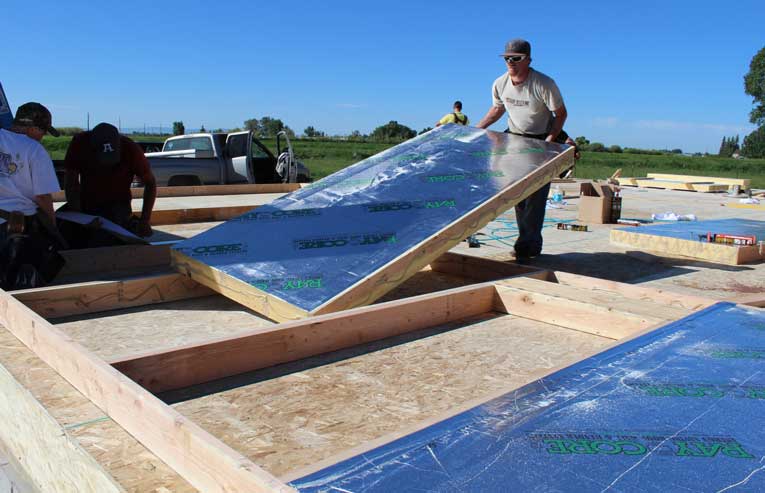
RAYCORE Structural Insulated Wall Panel Installation
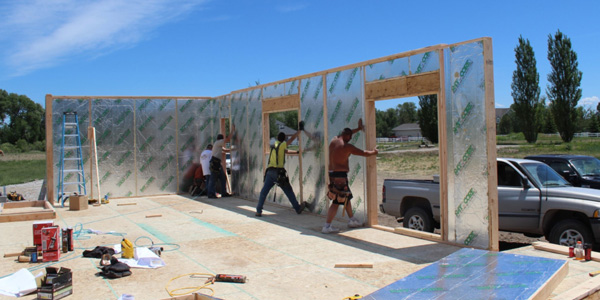
When building with SIPs, RAYCORE’s Structural Insulated Wall Panels are far superior to Sandwich Panel SIPs by a wide margin. RAYCORE SIPs Wall Panels are crafted with integrated structural members or “studs”, closed-cell polyurethane foam insulation, and a foil radiant air barrier, ensuring both structural integrity and the highest R-value per inch insulation available on the market. Assembling RAYCORE Wall Panels is a breeze, providing superior insulation, airtight construction that translates into a lifetime of energy efficiency, saving homeowners money throughout the life of their home. RAY-CORE SIPs ® are unequivocally the premier choice for wall panels.
- Factory Completed Insulation, Studs and Wrapping: Everything is done at the factory, making assembly a straightforward process.
- Integrated Studs: Available at 16 inch (406mm) and 24 inch (610mm) on center, ensuring structural soundness for the lifetime of the structure.
- Not Dependent on Glue: Unlike Sandwich Panel SIPs, RAY-CORE's polyurethane foam insulation SIPs do not rely on glue for the adhesion of polystyrene to OSB for structural integrity.
- Resistance to Moisture, Mold, and Rot: RAYCORE Insulated Wall Panels are not prone to the issues of moisture, mold and rotting commonly associated with Sandwich Panel SIPs.
- Effective Air Barrier: According to the US Department of Energy, 40% or more of a home’s heating and cooling costs are attributed to air leakage. RAYCORE SIP Panels, with their airtight construction and superior closed-cell polyurethane foam insulation, act as an effective air barrier, reducing energy costs significantly.
- Half the Price & Twice the R-value: RAYCORE Structural Insulated Panels SIPs ® are half the price and twice the R-value per inch compared to Sandwich Panel SIPs.
NOTE: Installation must adhere to manufacturer’s published instructions and utilize conventional construction methods and practices. All methods and practices must comply with the specifications of engineers or architects and meet national, state, province and local building code requirements. No recommendations in this installation guide should override these specifications and requirements. Any deviations from standard and conventional building methods and practices must be calculated, specified, signed and sealed by a licensed professional engineer or architect.
Step-By-Step Insulated Wall Panel Installation
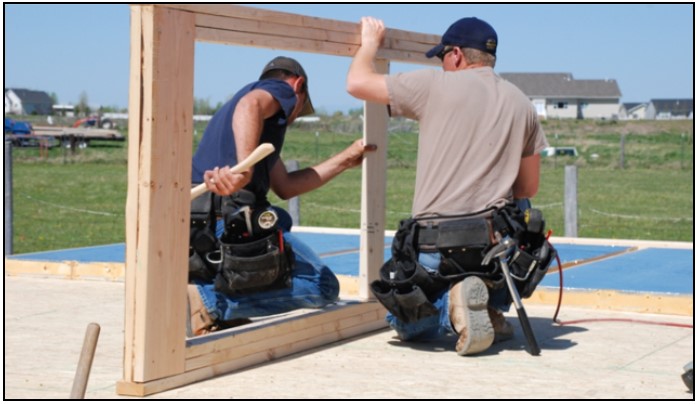
Step 1 - Precut and Frame Window and Door Openings
Precut materials for window and door openings according to specifications provided. Pre-assemble using RAYCORE’s Insulated Headers in preparation for framing walls. This saves time and ensures proper alignment and fitment of window and door openings during the framing process.
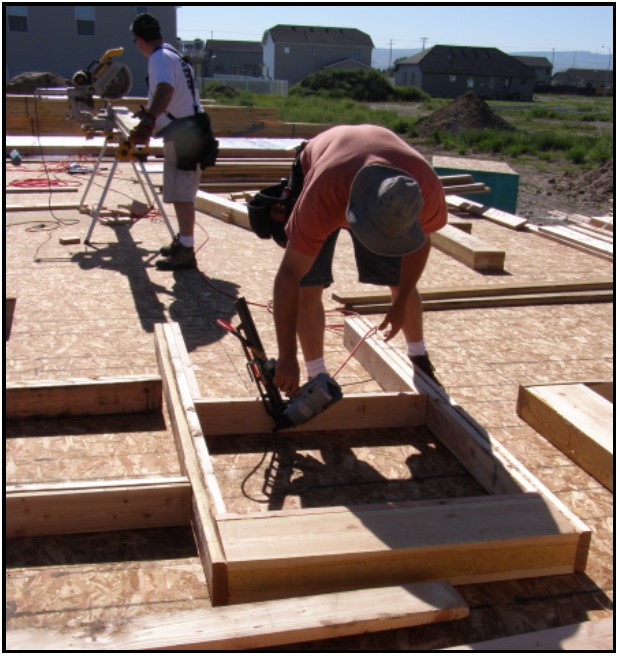

Step 2 - Wall Panel Layout to Prepare for the Insulated Wall Panels
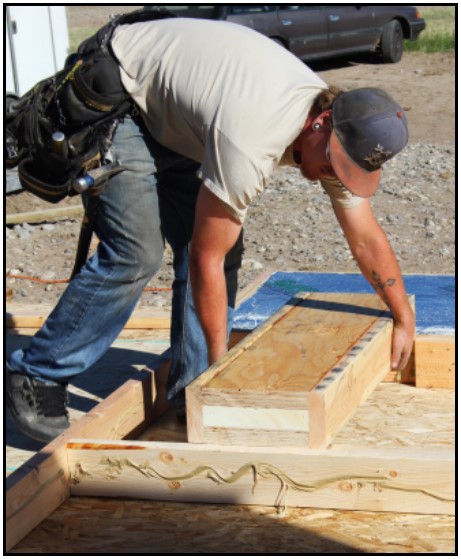
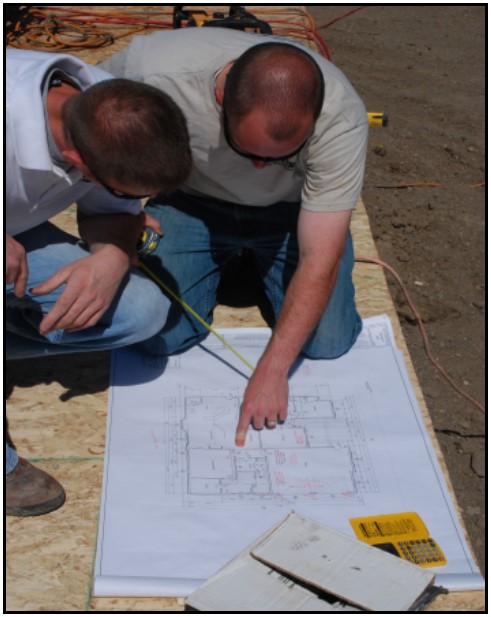
Begin by establishing your layout, starting with the corners (see Step 3 & 4). Place lumber, measure, and mark the top and bottom plates. Lay out panels, door and window frames, etc., according to your design plan. This step ensures accurate positioning and alignment of structural components before assembly.
Step 3 - Remember... Think "Conventional Framing" when using RAYCORE Insulated Wall Panels
Decide how you will frame your corners based on the information provided. Begin by framing your first corner according to conventional framing practices. As you lay out panels cut the panel so it fits snuggly against the king stud on the window or door frame. Use cut material to continue on the side opposite the opening, cutting where necessary to maintain the layout. Minimize panel waste by regularly evaluating and utilizing surplus material from cuts.
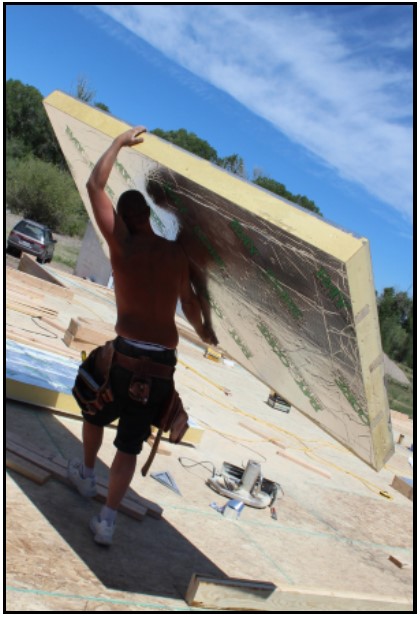
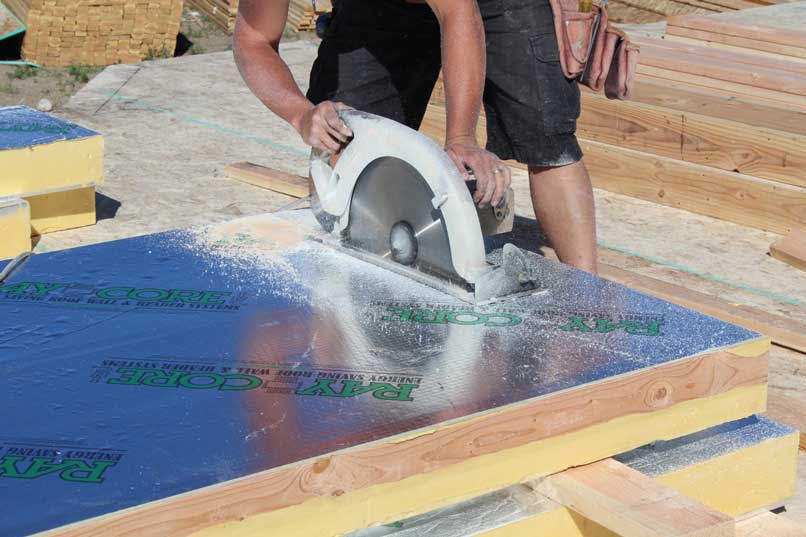
For best results and clean cuts, cut panels with a circular “panel” or “beam” saw, utilizing at least a 10-1/4 inch for 3-1/2” thick panels or "16 inch" (16-5/16 inch) for 5-1/2” and 7-1/4” thick panels. If you want to cut all the way through the 7-14" panels in one pass, you could consider a "Prazi" style beam cutter blade that will attach to your circular saw. If you don’t have equipment large enough to do the job, you might check with your local equipment rental store to rent instead of buy.
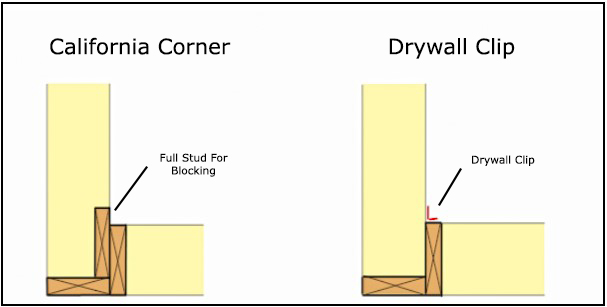
Step 4 - Corner Detail
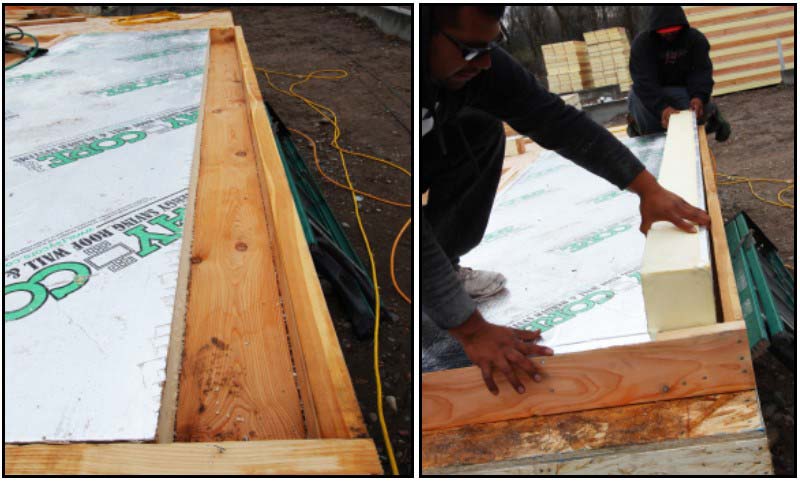
Framing a corner with RAYCORE Insulated Wall Panels is similar to conventional stick framing with a minimum of 2 studs required at corners according to code. While traditional corner approaches are valid, two energy-efficient methods are outlined below. The California Corner Approach: There are two ways to implement this. Firstly, you can channel out the foam to insert the stud blocking, ensuring not to remove more foam than necessary for the stud. Alternatively, frame your corner conventionally and start the panel with a stud at the edge of the corner stud, filling the void with surplus foam. Use construction adhesive or polyurethane canned foam to adhere and seal the panels to one another and the framing members. Fill any voids with polyurethane canned foam. As always, when framing corners follow code requirements for your area.
Click Below for More RAYCORE SIPs "How To"
SIPs Best Installation Practices
Wiring, Plumbing and Ventilation in SIP Panels
Attaching Wall Panels to a Concrete Wall or Slab
Additional RAYCORE SIPs Installation Procedures & Documents You Might Find Useful
Print or Save A Copy Of the RAY-CORE SIPs ™ Installation Guide
* R means resistance to heat flow. The higher the R-value, the greater the insulation power. See RAYCORE SIP Panel Specification Sheet or Fact Sheet on RAYCORE's Technical Data Page.
Over 35 Years of Customer Satisfaction